Deploying Jobs
Deploying a job is a two-step process:
- Stage the saved job to create an immutable, deployable version.
- Deploy the staged version to one or more workers.
Before staging, validate the pipeline with Run or Run & Trace in the editor. See Running a job.
Save vs stage vs deploy
- Save: stores the editable job definition on the server.
- Stage: validates the job and freezes a version for deployment (this is what workers run).
- Deploy: assigns the staged version to a worker and starts (or schedules) execution.
Stage a job
Jobs are saved on the server after Save is pressed in the editor. Closing the editor shows the job page:
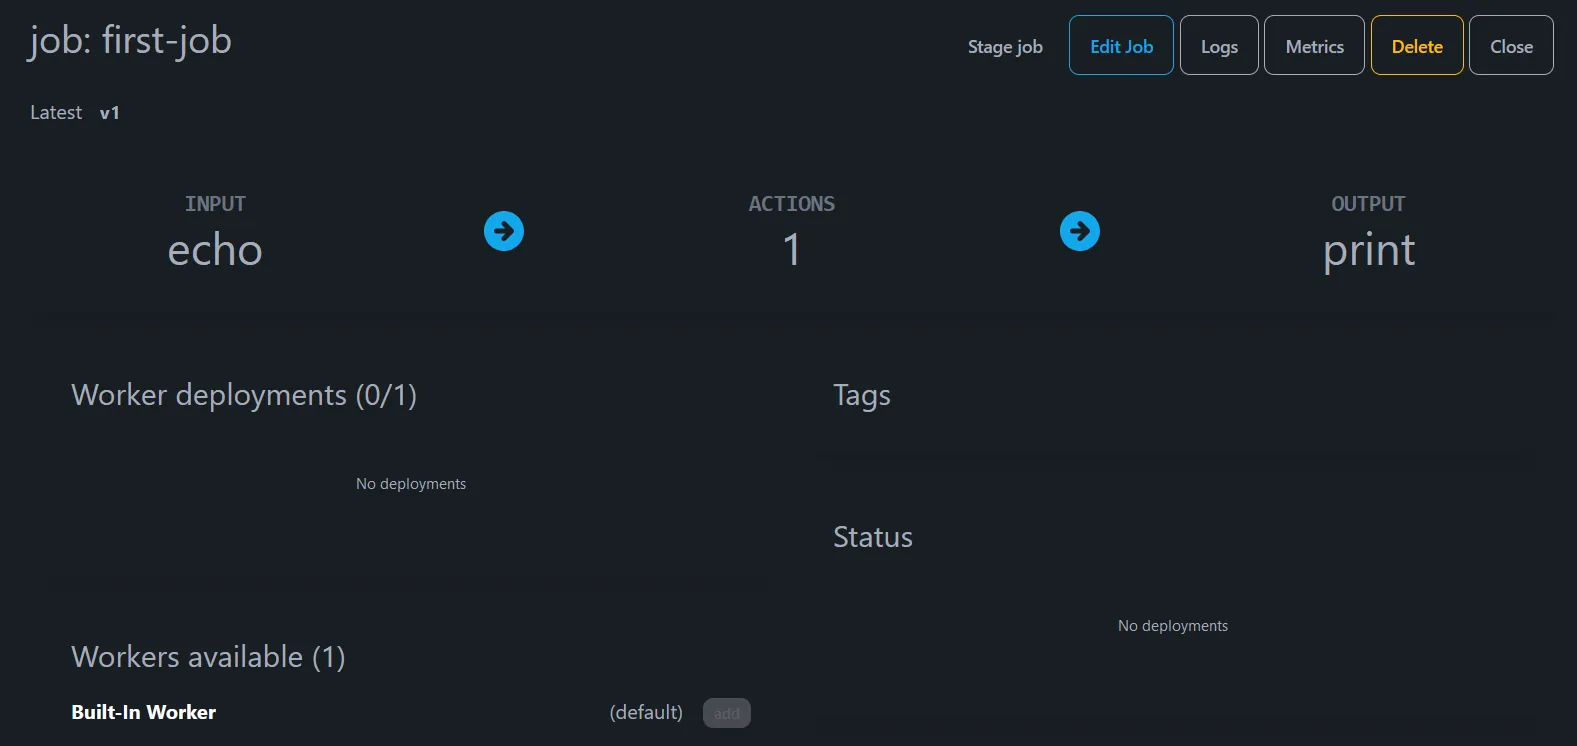
The job needs to be staged before it can be deployed to workers. Click Stage (or Stage job).
Staging is also where the UI surfaces configuration issues early. If the job cannot be staged, open the Issues panel and fix the reported warnings or errors. See Logs & Issues.
Deploy to a worker
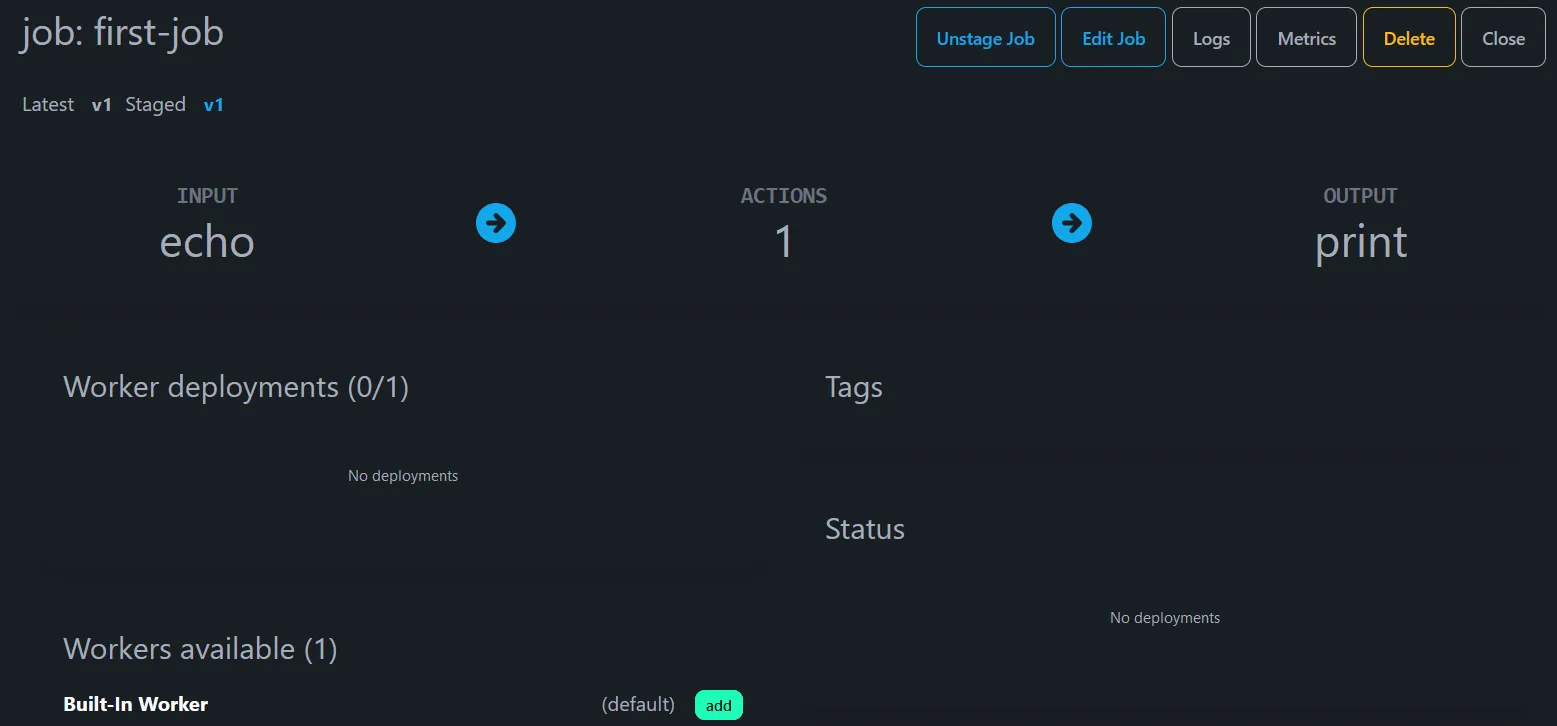
From the job page, open the Deployments panel/tab and deploy the staged version to a worker. In Community Edition you can use the Built-in Worker.
Click Deploy (or Add) and wait for the job to start. The UI shows the deployment status:

Use the job logs and the Job status feed to confirm runs, throughput, and errors.
To stop a deployed job, remove it from the worker (the UI may show Remove).
Update and promote safely
When you change a job:
- Make the change in the editor (or update the YAML in Git).
- Run Run & Trace to validate the new behavior.
- Save, then stage again to publish a new immutable version.
- Deploy the new staged version to a non-production worker first, then promote to production.
If you automate promotions, follow the CI/CD automation guide.
Example: catching a bad field conversion
Staging and Run & Trace are designed to catch regressions before they hit production. For example, a convert action can warn when the input field is missing.
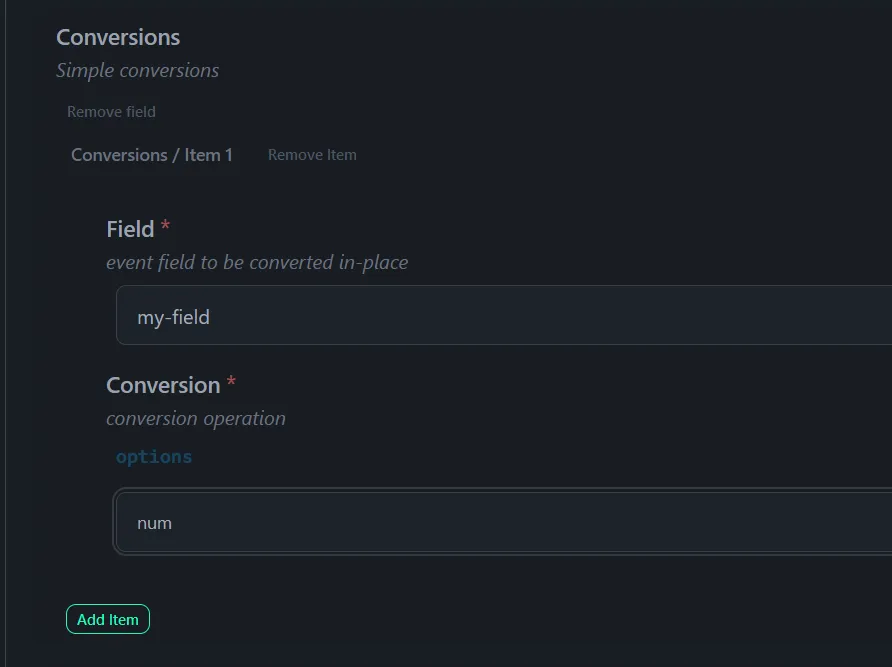
After adding the conversion, make sure you click Add item (so the rule is actually saved), then save and stage again.
If the job now has problems, the Issues icon turns red. Open it and review the warning details:
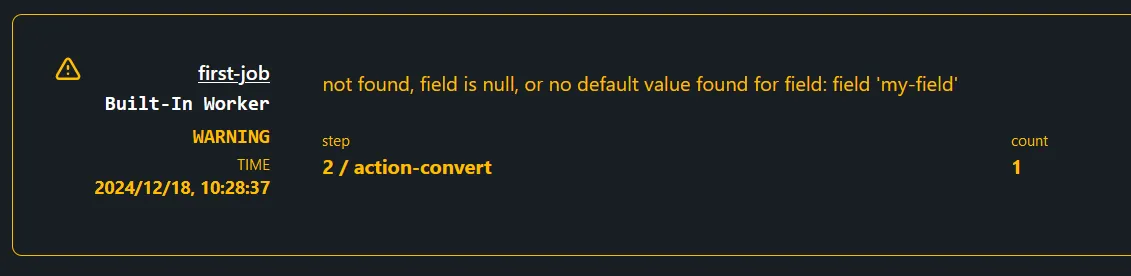
These warnings also show up in the job logs, and often indicate that the pipeline is making assumptions about input data that no longer hold.